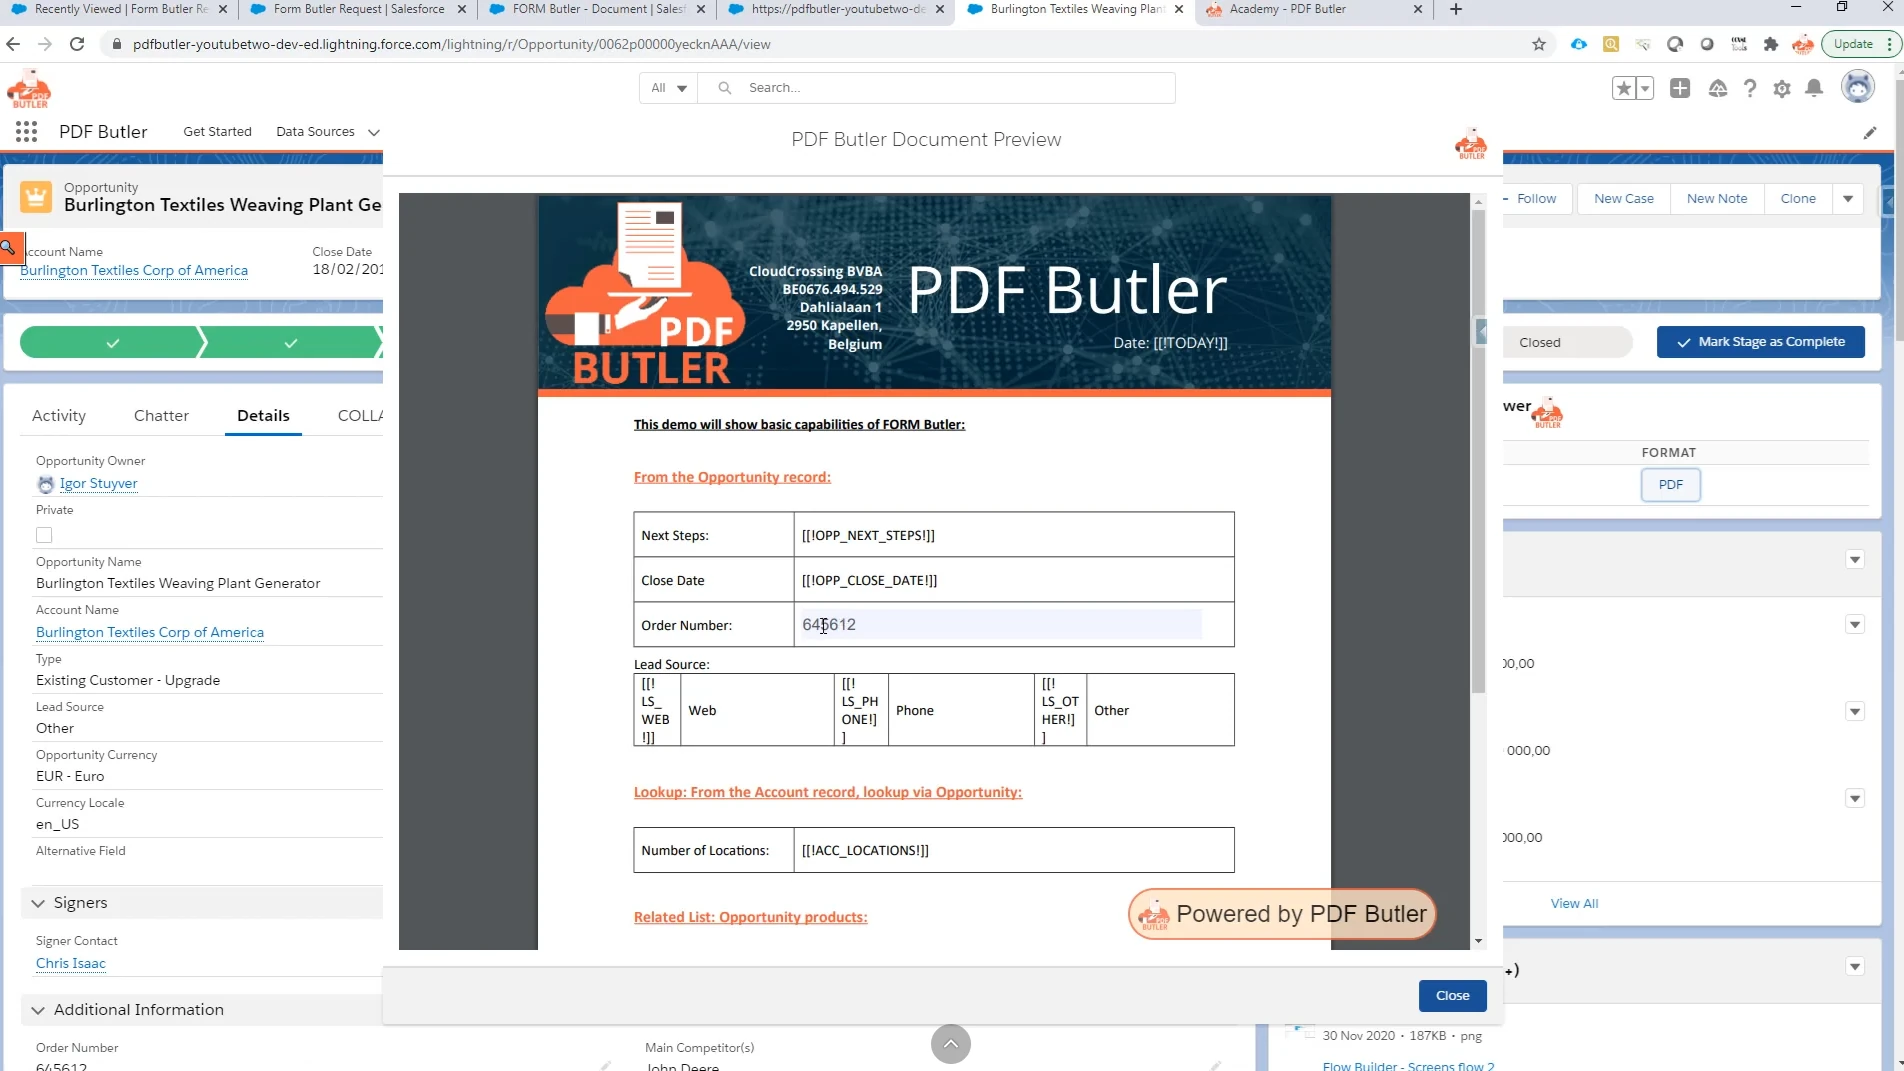
FORM Butler can convert merge fields in a Word document into editable form fields. In this example, we will configure an Order Number merge field as a single-line text input, populate it with Salesforce data, and allow the recipient to edit the value.
Step 01: Prepare the Word Document #
- Open the Word document you want to use with FORM Butler.
- Add the merge field that will become editable if it is not already present in the Word document. The same merge-field syntax used with PDF Butler can be used when creating the FORM Butler document.
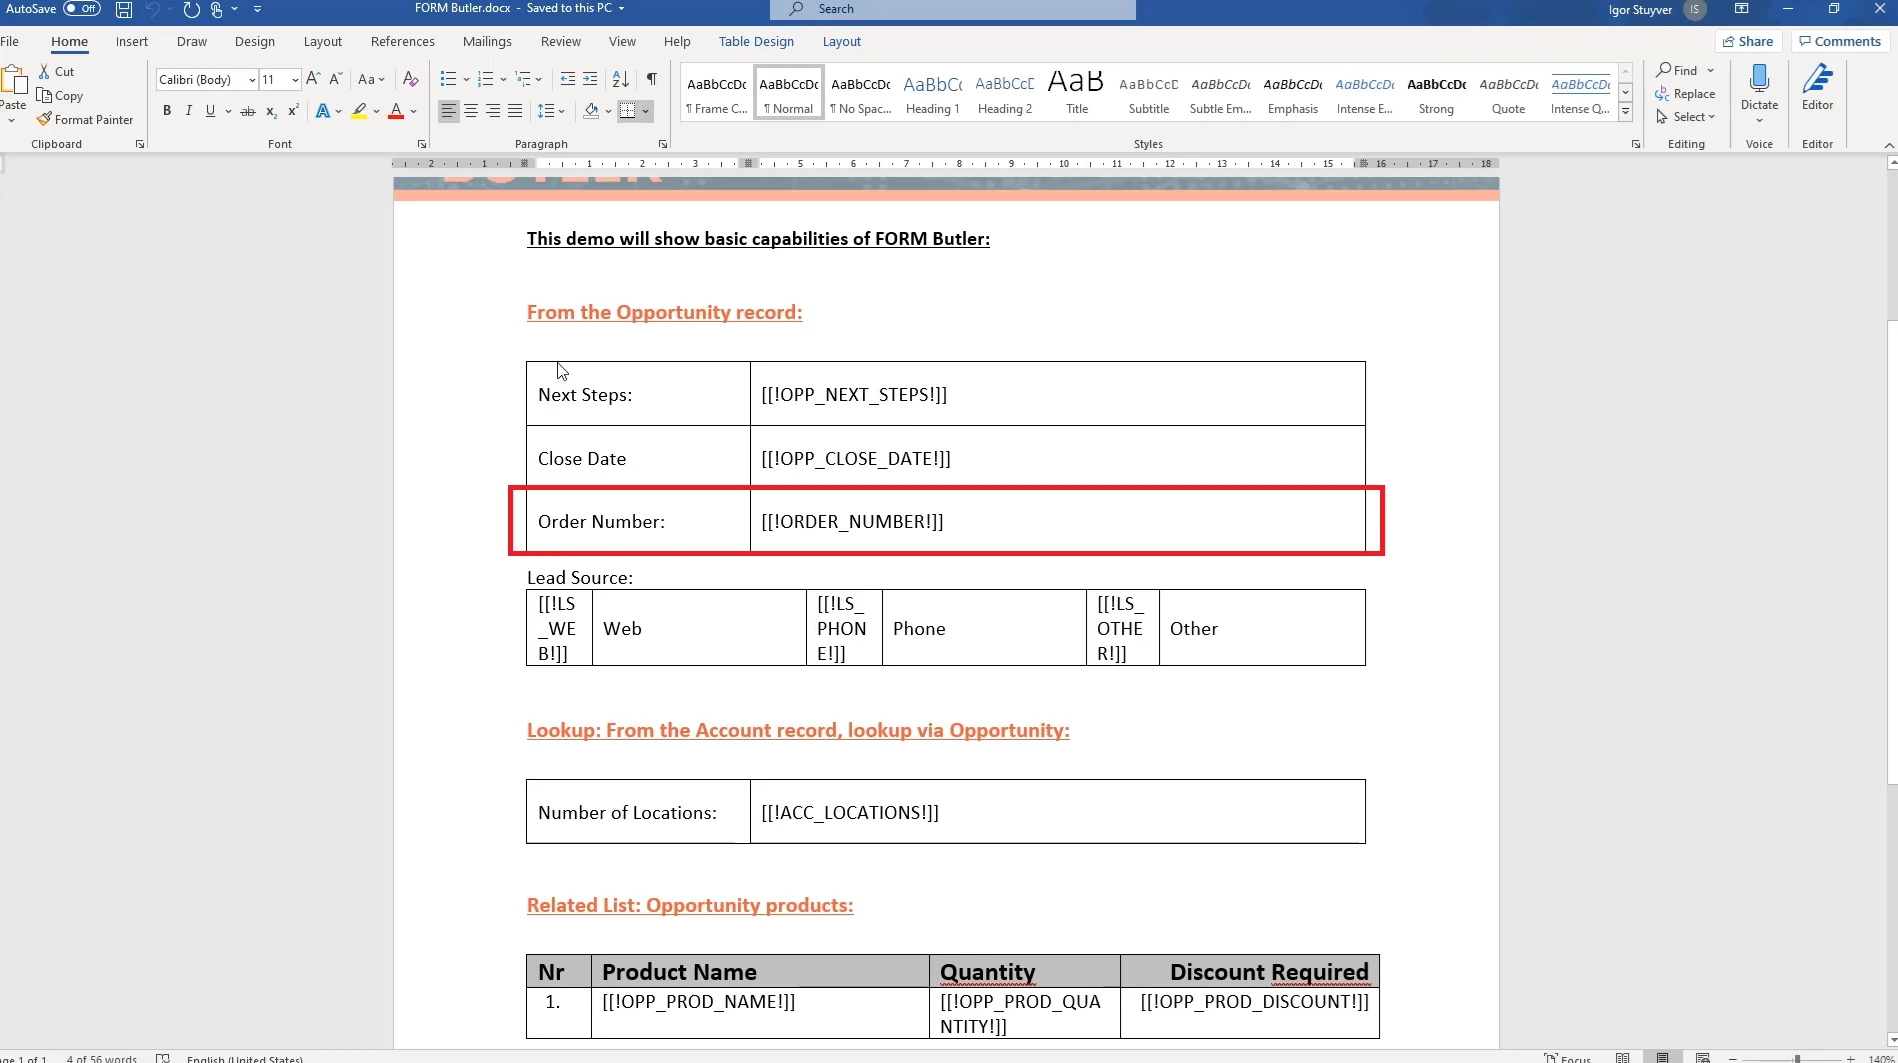
In this example, the document contains an Order Number merge field.
Note: If your FORM Butler Doc Config, document upload, and required DataSources are not already set up, complete the FORM Butler Document and DataSource Setup guide before continuing.
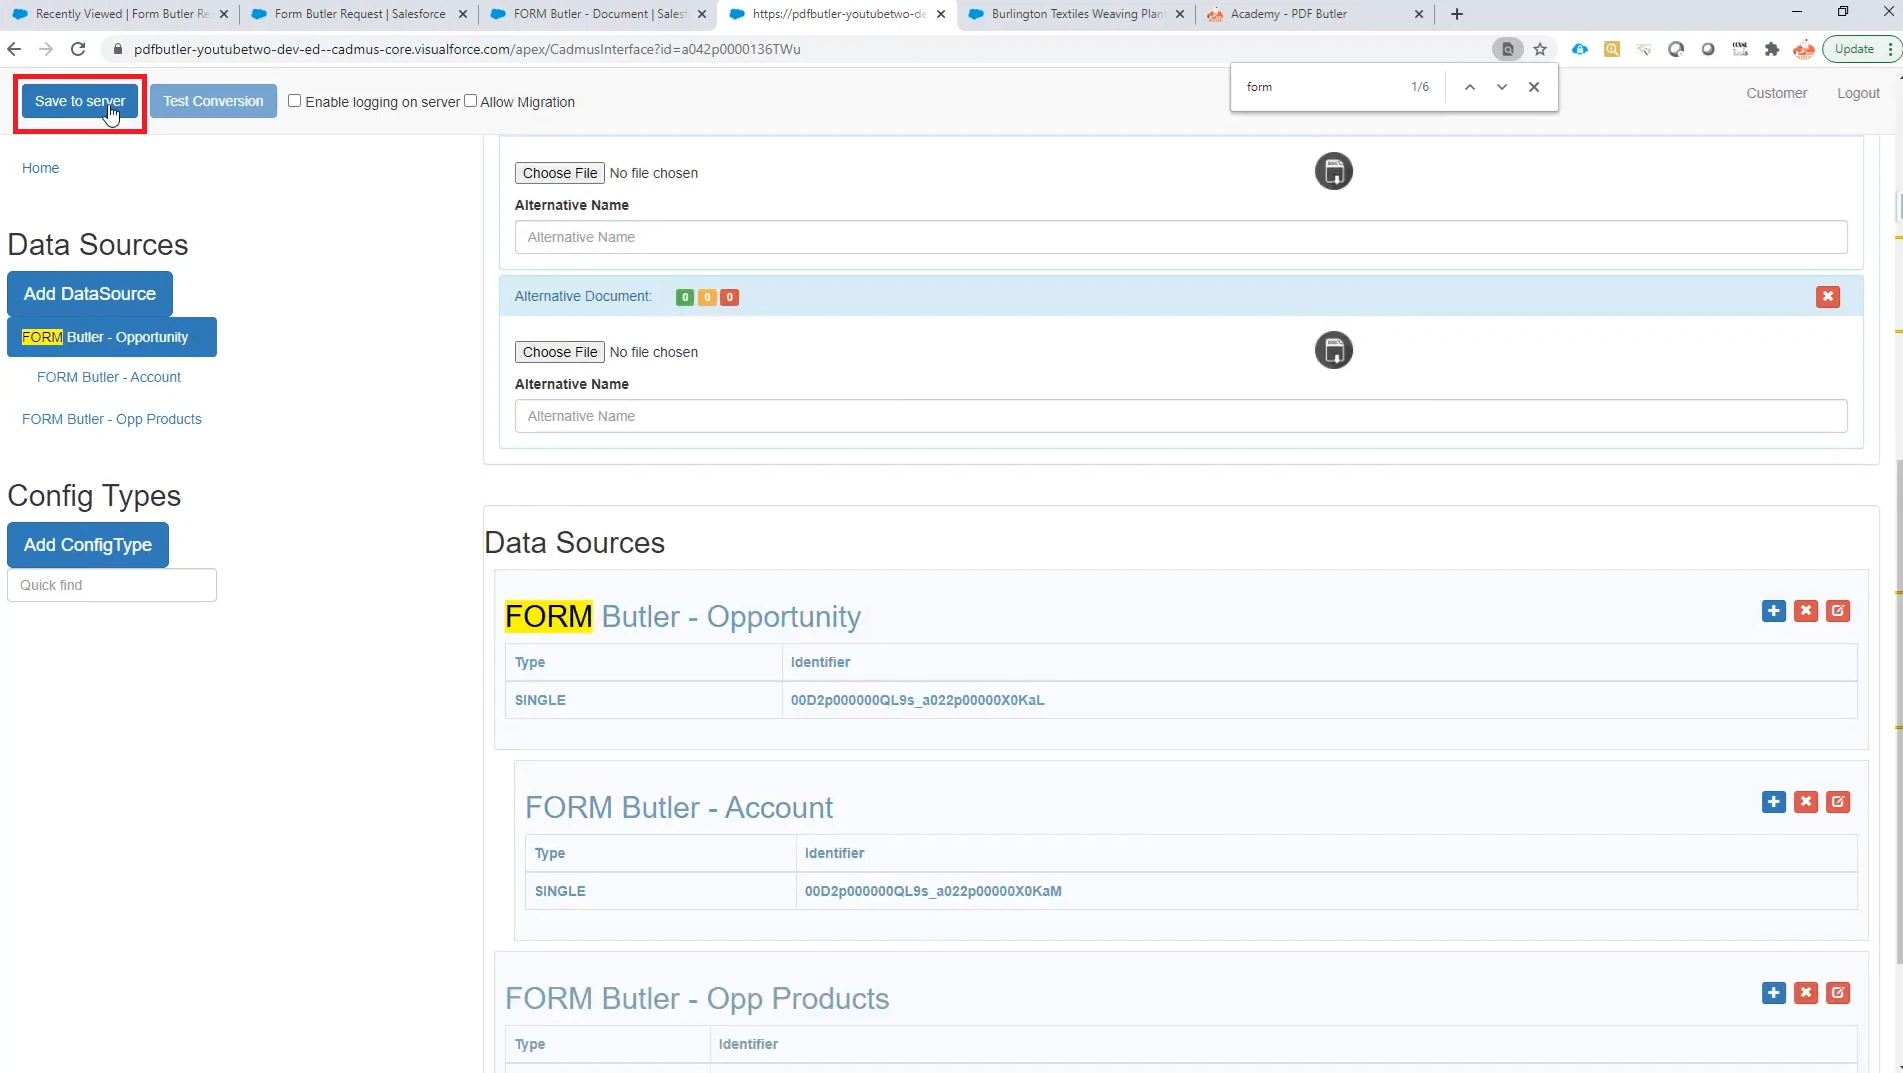
If the configuration already exists, review the current DataSources and add any additional DataSource required for the field you are configuring. After adding a new DataSource, click Save to Server before continuing.
Step 02: Configure the Field as a TEXT Form Field #
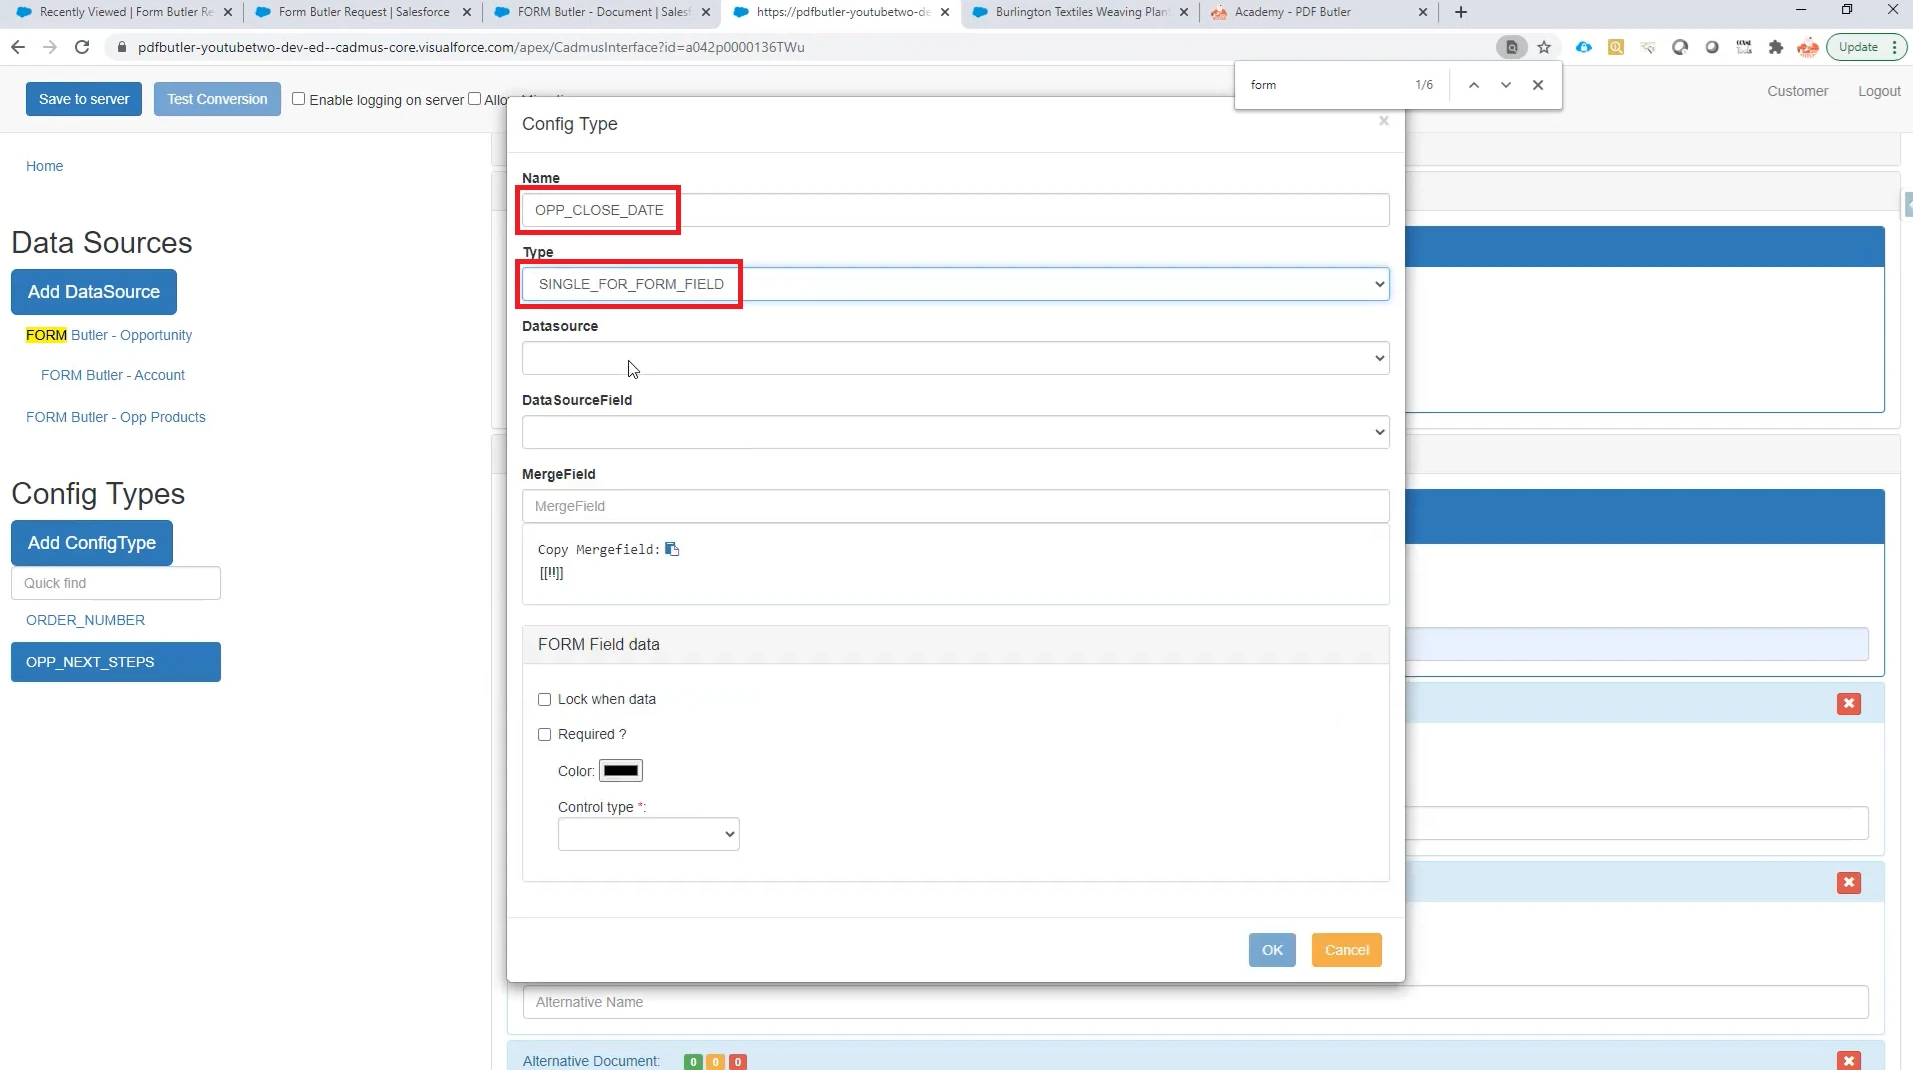
- On the left-hand side, click Add Config Type.
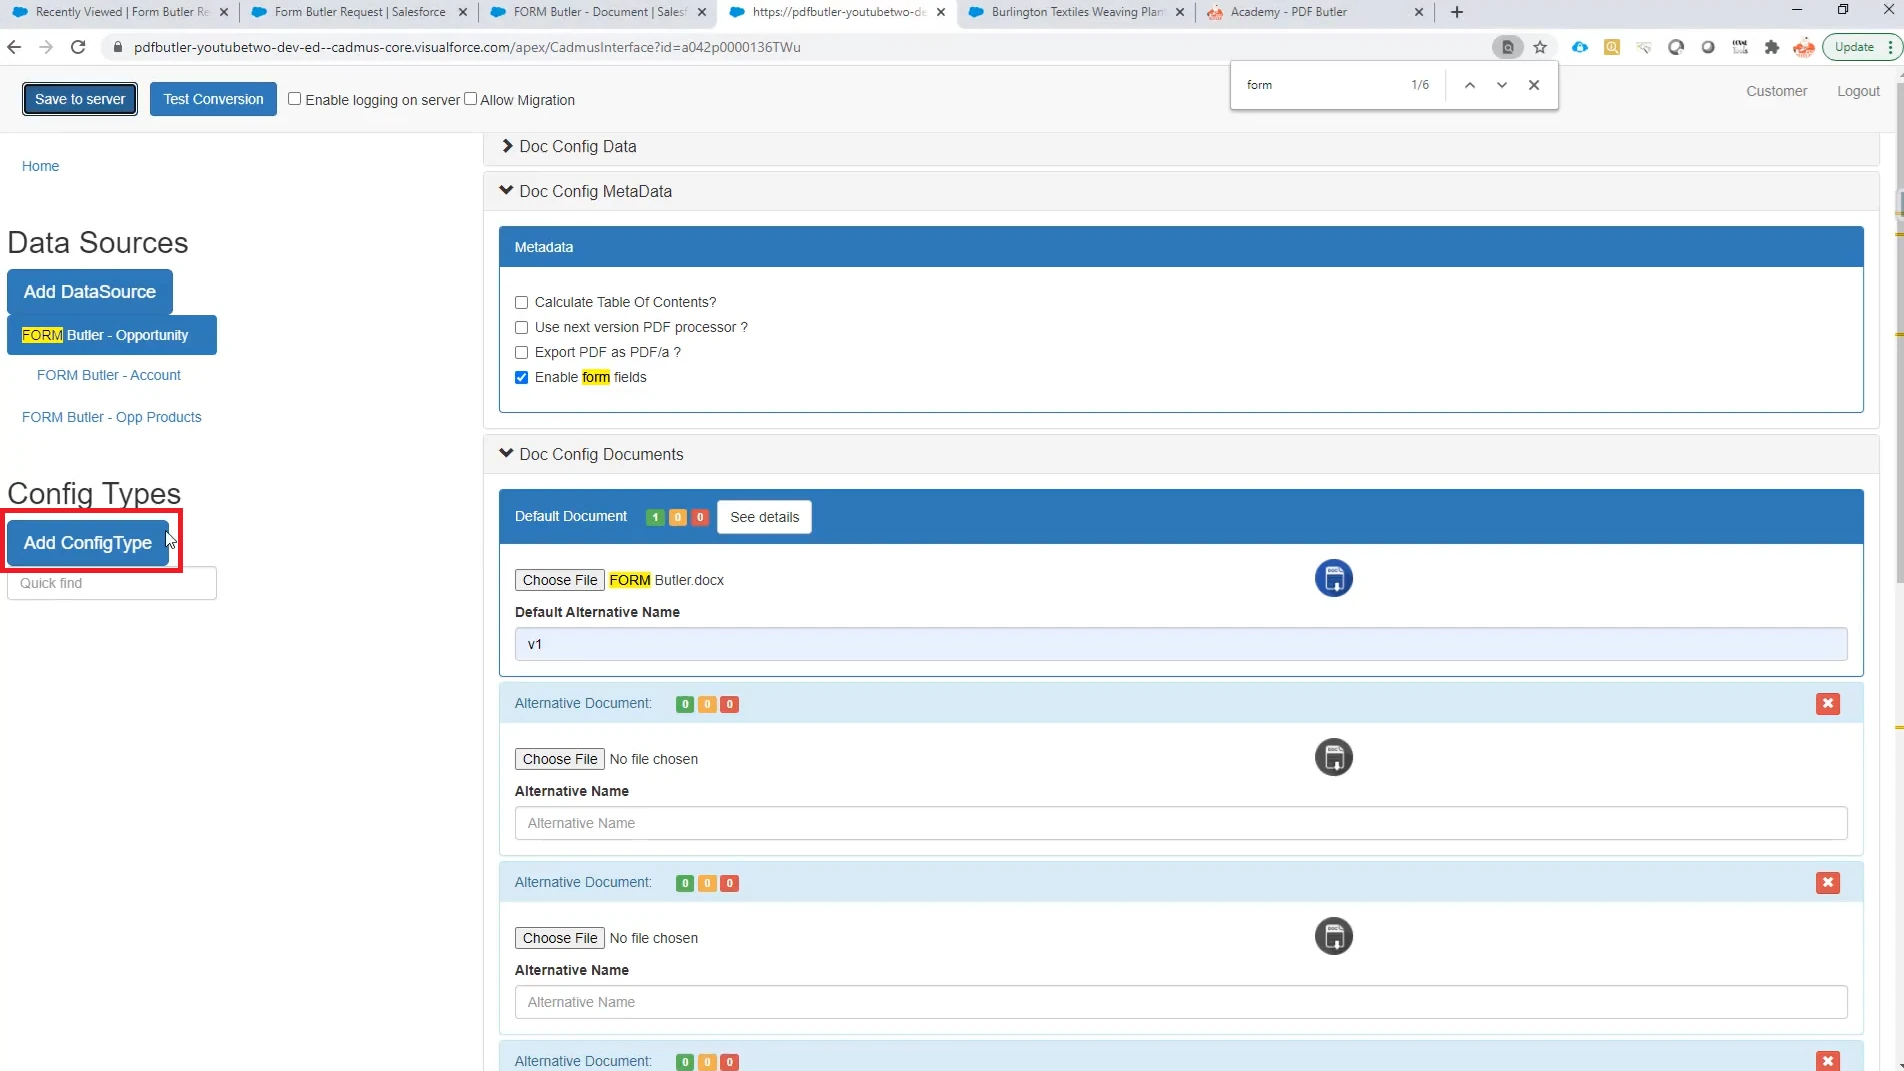
- Enter a name for the field you want to configure. Use the same name as the corresponding merge field in the Word document. Then change the configuration type from Single to Single for Form Fields.
- In Datasource, select the data source that contains the field you want to use.
- In DataSourceField, select the specific Salesforce field that should supply the value.
- In MergeField, enter the merge field from your Word document that should be linked to that Salesforce field.
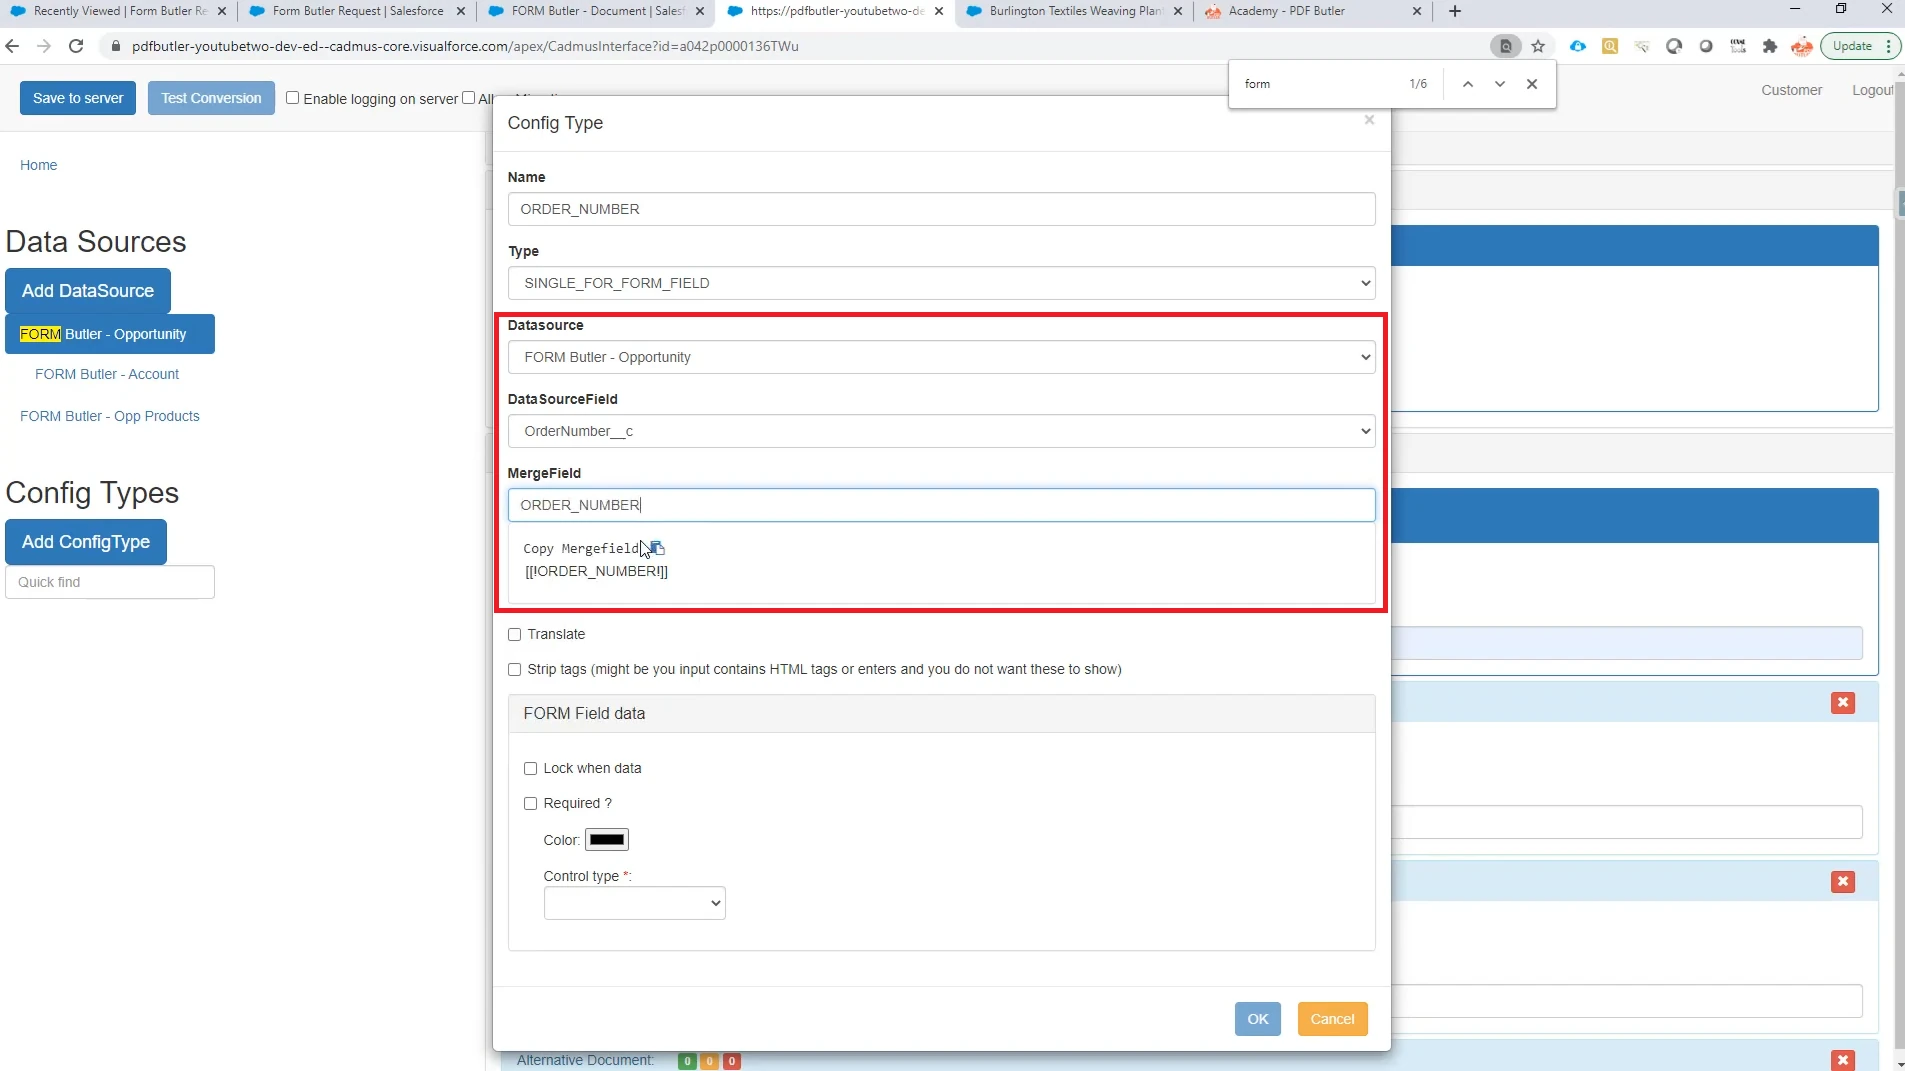
In this example, the Order Number field is used from the Opportunity data source.
Step 03: Configure the Form Field Settings #
You can now use the Form Field Data options to control how the field behaves in the generated document.
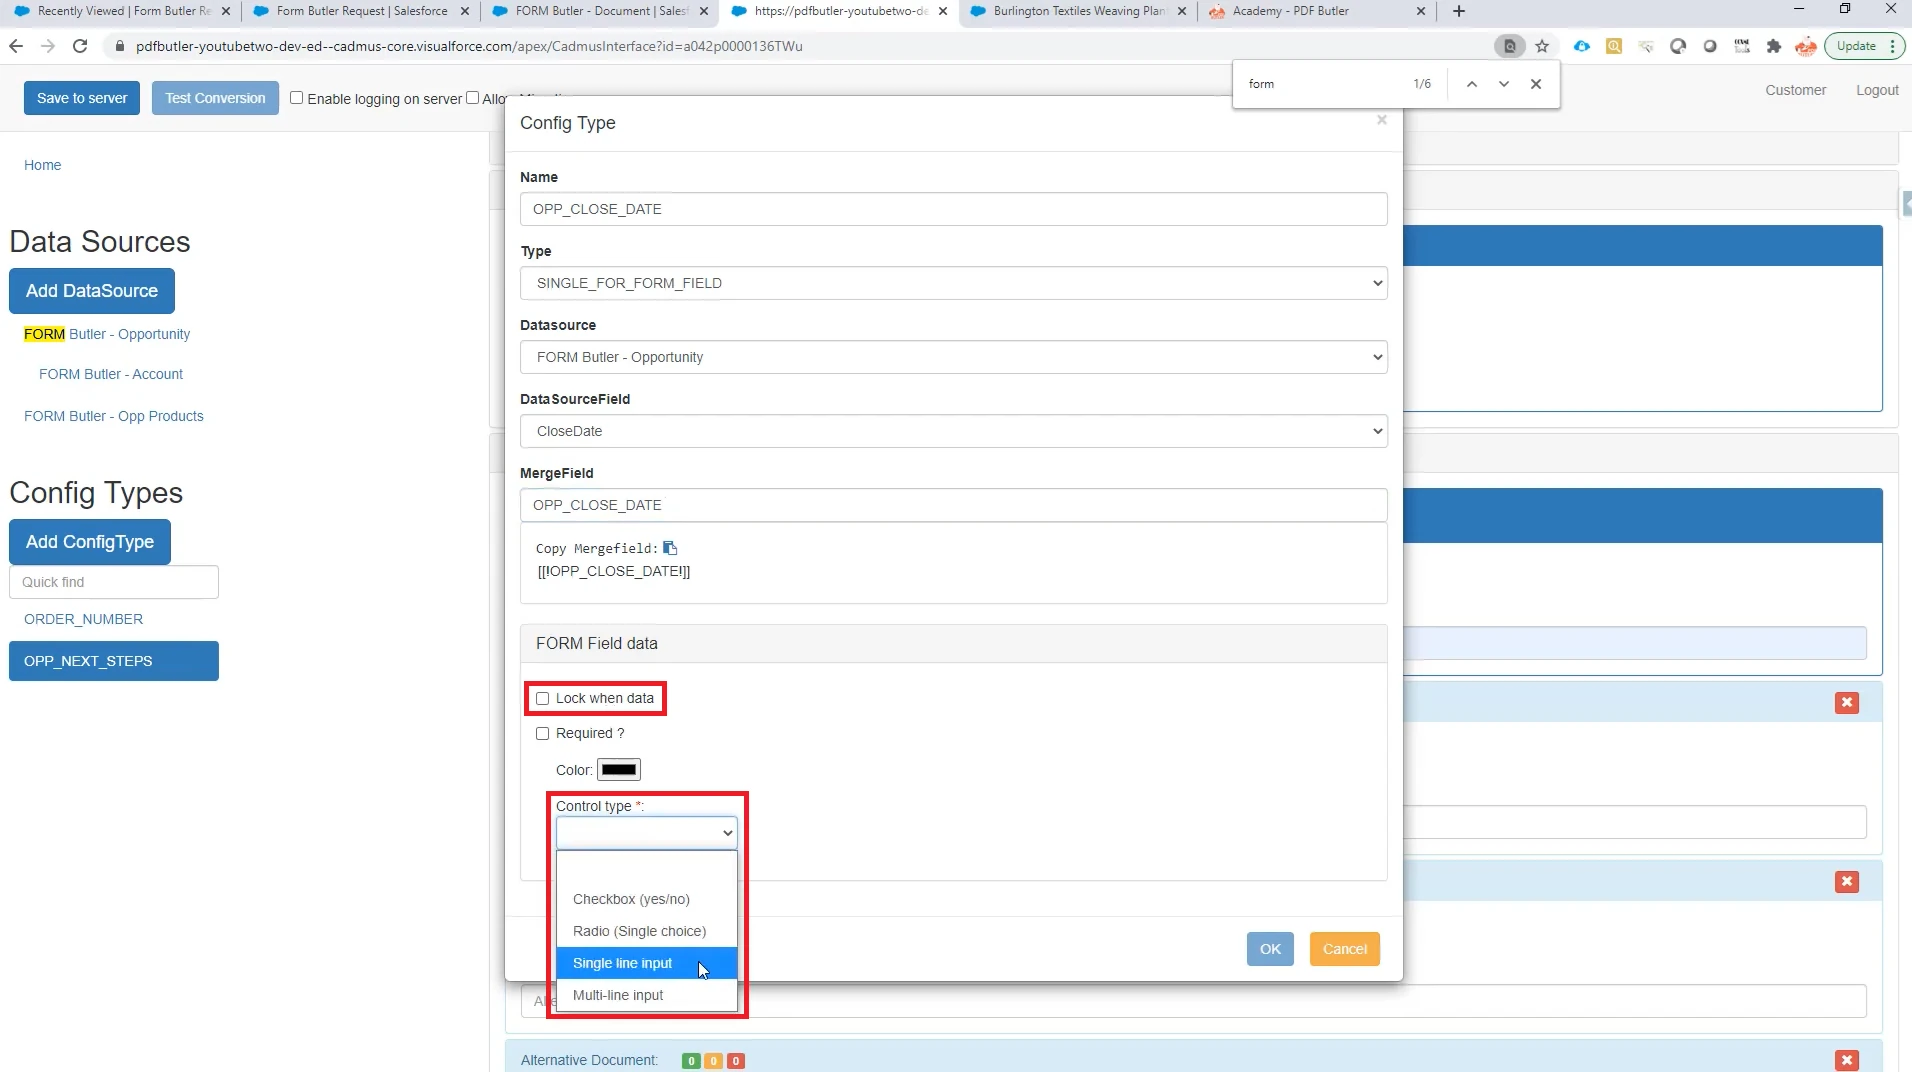
- Leave Lock when data unchecked if users should be able to edit the value after the document is generated.
- Set the Control type to Single Line Input. Use this option for short text values such as an order number.
- Choose the preferred measurement unit for the form field dimensions. Then set the width and height of the form field. The dimensions determine how much space the editable field occupies in the generated document.
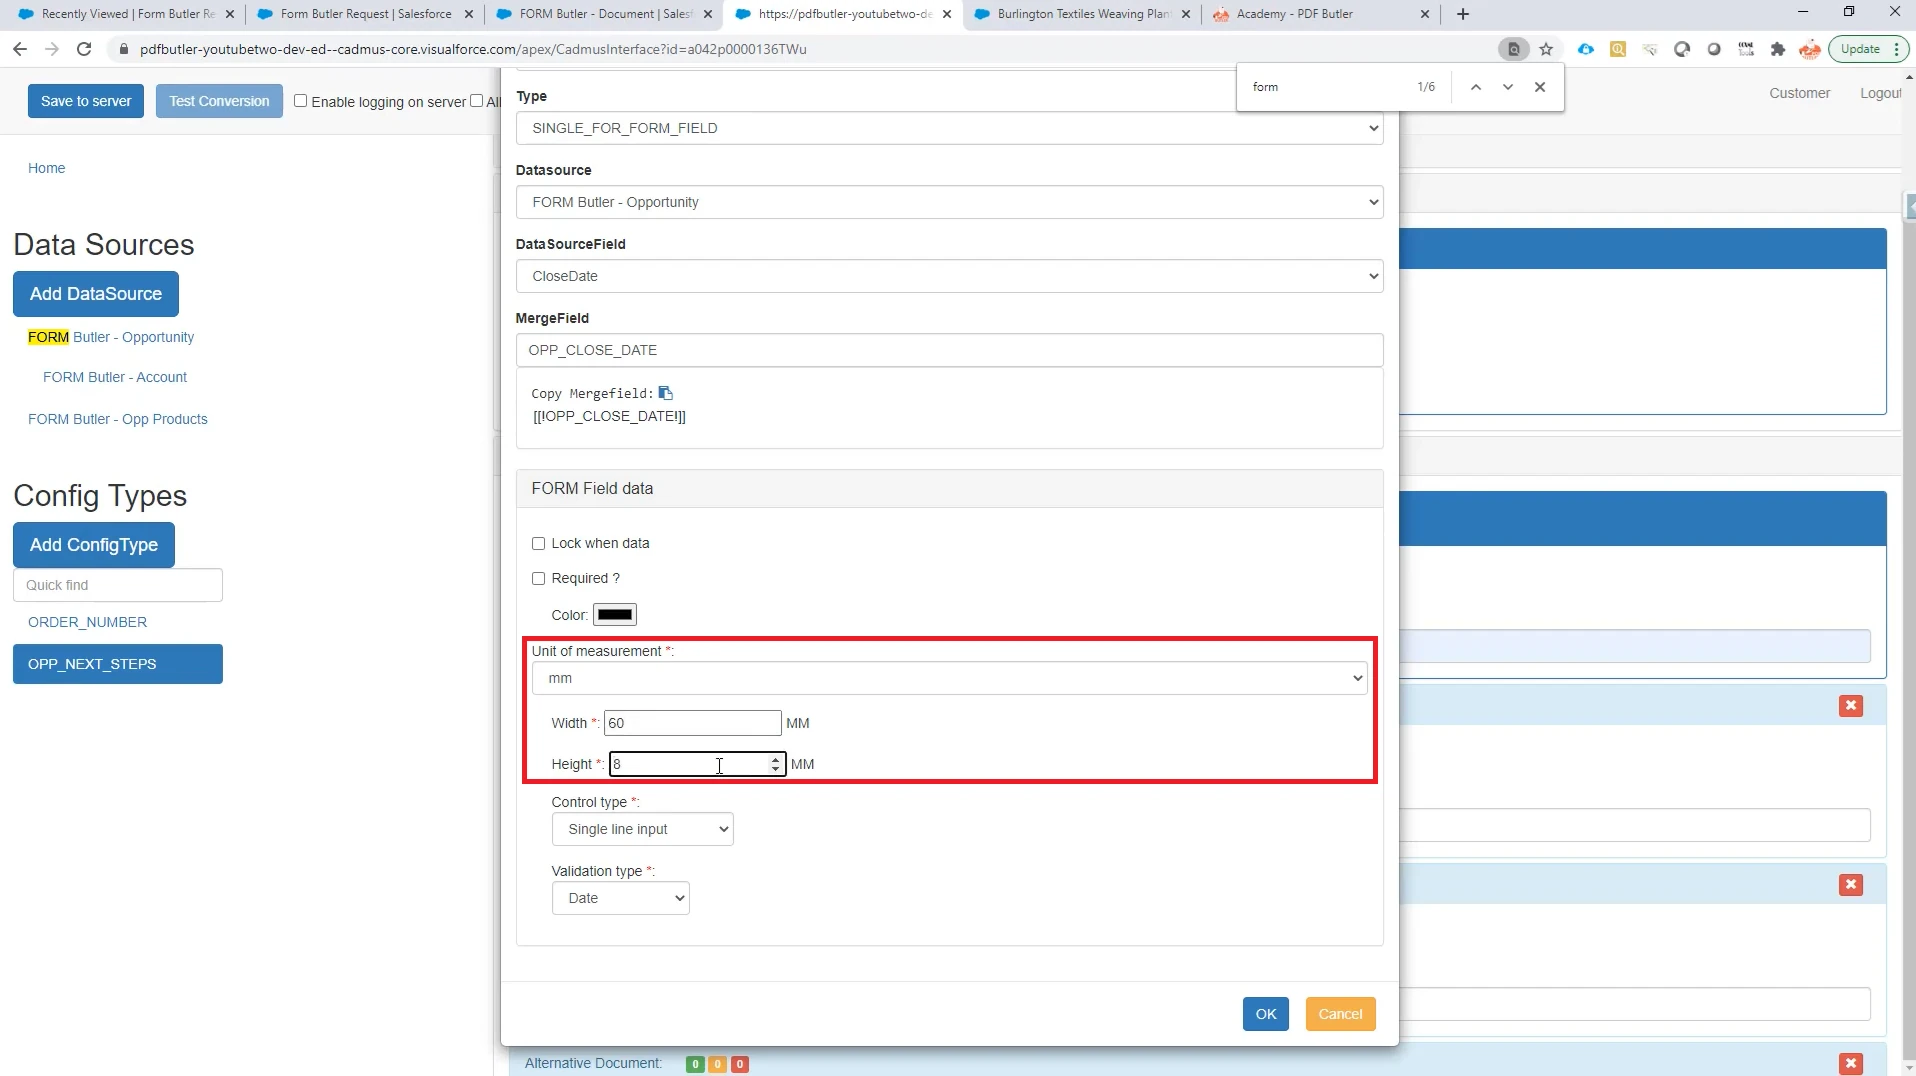
- Leave Validation Type unchanged when the field does not require special validation. Then click OK.
Step 04: Save and Test the TEXT Form Field #
- Click Save to Server. Confirm that the configuration validates successfully.
- Generate a preview document to verify that the form field appears correctly and can be edited as intended.