Web Forms provides Attachments element. If it is required to upload attachment or take pictures via a mobile device on the web form.
This can be achieved by the following way:
-
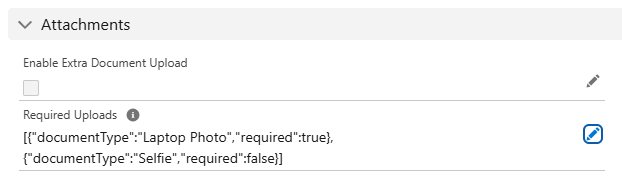
- Configure the Actionable with the Attachments you need. This requires a JSON specifying each type of document that needs to be uploaded. Here is an example of a JSON that takes 2 files, 1 optional and 1 required:
[{"documentType":"Driver license","required":false},{"documentType":"Passport","required":true}]

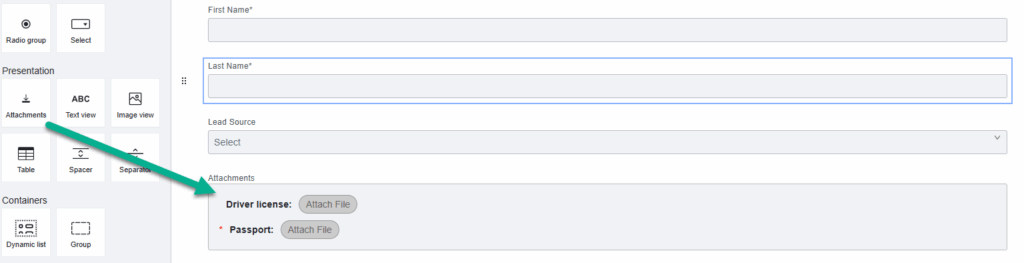
FYI: the “Enable Extra Document Upload” is not used. - Drag and drop the “Attachments” component to the web form config page

- Generate and/or send out the form
- Upload files. The uploaded files will be attached to the record the web form was send from
- Configure the Actionable with the Attachments you need. This requires a JSON specifying each type of document that needs to be uploaded. Here is an example of a JSON that takes 2 files, 1 optional and 1 required:
Below are the settings you see after adding Attachments element to your form.
General
- Field label : Label of the Attachments form element you wish to display in the web form.
- Field Description : A description of the Attachments form element, typically providing details on the kind of data it captures.
- Key : Each form element you add to your web form has a unique, automatically generated value. That is visible here.
Condition
- Hide if: If you need to hide your Attachments section under certain conditions, then you can mention such conditions in Hide if editor of Attachments form element.
Layout
- Columns: By default, this is Auto, meaning that you divide the form based on the number of form elements you add in a single row. You can change it according to your business needs, so that you divide the form into the number of columns mentioned here.


