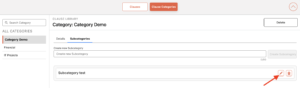
The Clause Library is a centralized repository for storing and managing reusable contract clauses. It helps maintain consistency across agreements by allowing users to organize clauses into categories and subcategories, making them easy to find and reuse when building Agreement Templates.
The Clause Library consists of two main areas:
- Clauses
- Clause Categories
Clauses #
The Clauses page displays all available clauses that can be used when creating or editing Agreement Templates.
From this page, you can:
- View all existing clauses.
- Create new clauses.
- Edit existing clauses.
- Delete clauses.
- Filter clauses by name, category, or subcategory.
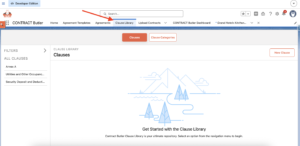
Creating a New Clause #
To create a new clause:
- Open the Clause Library Tab.
- Ensure you are on the Clauses view.
- Click New Clause.
Complete the following information:
| Field | Description |
|---|---|
| Clause Name | The name used to identify the clause. |
| Source Object Type | The Salesforce object associated with the clause, if applicable. |
| Clause Category | The category used to organize the clause. |
| Clause Subcategory | A more specific classification within the selected category. |
| Clause Content | The text that will be inserted into Agreement Templates. |
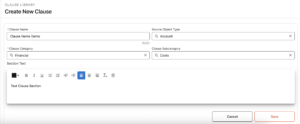
After entering the required information, save the clause.
The new clause will become available for use when building Agreement Templates.
Editing a Clause #
To modify an existing clause:
- Select a clause from the list.
- Click Edit Clause.
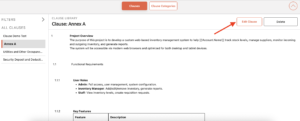
You can update:
- Clause Name
- Source Object Type
- Clause Category
- Clause Subcategory
- Clause Content
Save your changes when finished.
Deleting a Clause #
To remove a clause:
- Select the clause.
- Click Delete.
- Confirm the deletion.
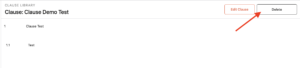
Note: Deleting a clause removes it from the Clause Library. If the clause is already being used in Agreement Templates, review the impact before deleting it.
Clause Categories #
Clause Categories help organize the Clause Library into logical groups, making clauses easier to locate and manage.
Categories can also contain multiple subcategories for more granular organization.
Viewing Clause Categories #
To manage categories:
- Open the Clause Library.
- Switch to the Clause Categories view using the navigation panel.
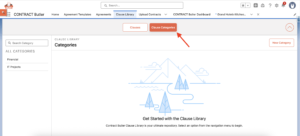
You can filter the list by Category Name to quickly locate a specific category.
Creating a Category #
To create a new category:
- Click New Category.
- Enter a Category Name.
- Save the category.
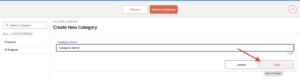
Only the category name is required.
Editing a Category #
To modify a category:
- Select the category.
- Click Edit.
- Update the category name.
- Save your changes.
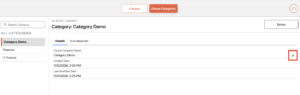
Managing Subcategories #
Each category can contain one or more subcategories.
To manage subcategories:
- Open a category.
- Navigate to the Subcategories tab.
- View all existing subcategories associated with the category.
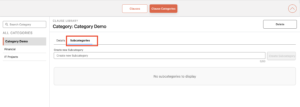
From here you can:
- Add new subcategories.
- Edit existing subcategories.
- Organize clause classifications.
Editing a Subcategory #
To edit a subcategory:
- Open the Subcategories tab.
- Click the Edit (✏️) icon next to the desired subcategory.
- Update the subcategory information.
- Save your changes.