
Contract Butler – Installation and Initial Configuration Guide #
This guide walks you through the installation and initial configuration of Contract Butler in Salesforce.
Before installing Contract Butler, you must first install and configure PDF Butler, as Contract Butler depends on it.
Prerequisites #
Before installing Contract Butler, verify that the following prerequisite has been completed:
- PDF Butler version Spring ’24 v1.4 (1.391) or later is installed in your Salesforce organization.
If PDF Butler has not yet been installed, refer to the PDF Butler Installation Guide before continuing.
Install the Contract Butler Package #
-
Open the Contract Butler installation link in your browser:
https://login.salesforce.com/packaging/installPackage.apexp?p0=04tWy0000005g8J
- Log in to your Salesforce organization.
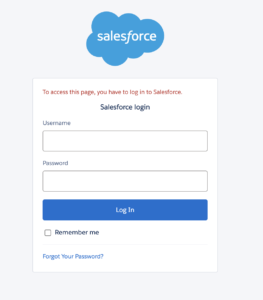
- Review the package installation details.
-
Select the installation option.
Recommended: Select Install for All Users. - Click Install.
- Wait for the installation to complete. Salesforce will send a confirmation email once the package has been successfully installed.
Terminology and Object Relationships Overview #
Before configuring Contract Butler, it’s important to understand the relationship between the objects used by the application.
- Source Object: The object from which an Agreement is created.
- Related Object: The object that links the Source Object to the Agreement.
- Agreement: The Agreement represents the contract instance that is managed by Contract Butler.
The Source and Related objects can be either standard or custom objects. The key requirement is that the Source Object contains a user-accessible lookup field for the Related Object, and the Related Object contains a lookup field for the Agreement.
As an example, we can use standard Opportunity and Contract objects.
Configure Permission Sets #
After the package has been installed, the Contract Butler permission sets should be cloned before assigning them to users. This approach preserves the original managed package permission sets and allows for future customization.
- In Salesforce, click Setup.
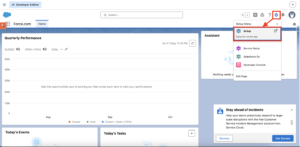
- In the Quick Find search box, type Permission Sets.
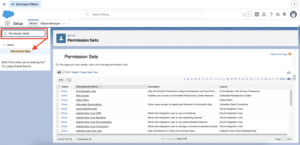
- Open Permission Sets.
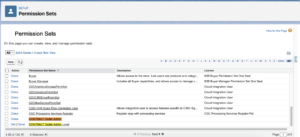
- Locate the following managed permission sets:
CONTRACT Butler Admin
CONTRACT Butler User - Clone the CONTRACT Butler Admin.
Change the Label and the API Name fields for new permission set. For example, you can add “Local” at the end and get: (CONTRACT Butler Admin Local)
- Clone the CONTRACT Butler User. If necessary, perform the same actions for the User permission set.
- Navigate to Object Settings.
- Select the Source Object your organization will use.
Example: Opportunity - Grant the appropriate object permissions.
Configure permissions according to your organization’s security model.
Once the permission sets have been configured, assign them to the appropriate users.
- Open one of the cloned permission sets.
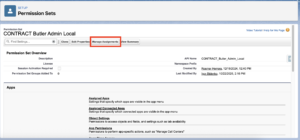
- Click Manage Assignments.
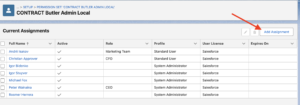
- Click Add Assignments.
- Select the users who should receive the permission set.
- Click Next.
- Review the assignment.
- Click Assign.
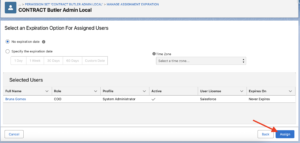
Repeat these steps for both the Admin and User permission sets as required.
After completing the installation and configuration:
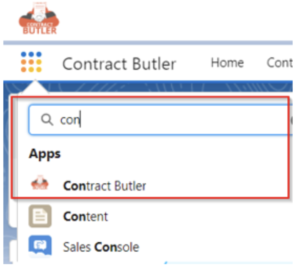
- Open the App Launcher.
- Search for Contract Butler.
- Open the Contract Butler application.
If everything has been configured correctly, users will be able to access the application according to their assigned permissions.


