30-day free trial!
Install from the AppExchange and configure PDF Butler in 10 minutes. All that needs to be done to get started!
1. Installing PDF Butler #
- Log in to your Salesforce org.
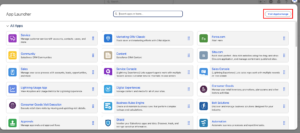
- Click the App Launcher (top-left corner).
- Select View All.
- Click Visit AppExchange, then select Go to AppExchange.

- In AppExchange, search for “PDF Butler” and open the listing.
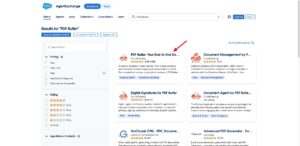
- Click Get It Now.
- Log in with your Trailblazer account and ensure it is connected to the correct Salesforce org.
- Choose the org where you want to install the package.
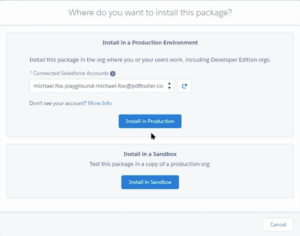
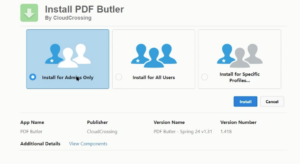
- Select Install for Admins Only.
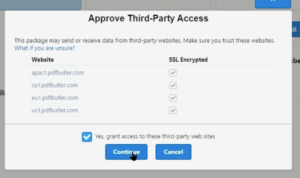
- Approve all Third-Party Access requests and click Continue.
- Wait for the installation to complete (you will receive a confirmation email).
2. Initial Setup of PDF Butler #
- Open your Salesforce org.
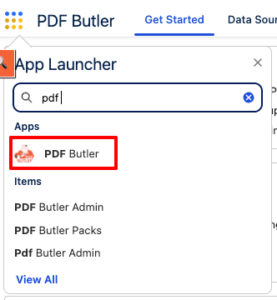
- Click the App Launcher.
- Search for and open the PDF Butler app.
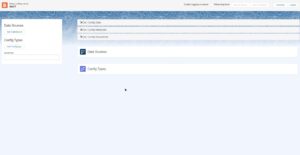
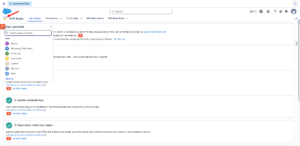
- On the home page, you will see a guided setup with steps to follow.
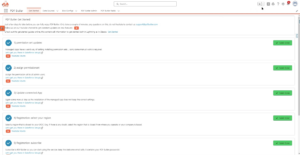
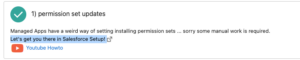
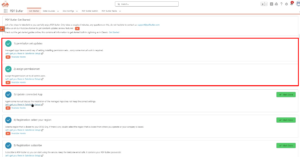
3. Permission Set Configuration #
- In the Permission Set Updates step, click “Let’s get you there in Salesforce Setup!”.
- Search for the permission set “PDF Butler Admin”.
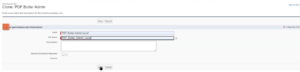
- Click Clone.
- Enter:
- Label: PDF Butler Admin Local
- API Name: PDF_Butler_Admin_Local
- Open the cloned permission set.
- Navigate to Assigned Connected Apps.
- Click Edit.
- Assign the appropriate app based on your region (e.g., EU).

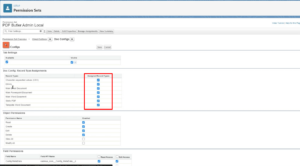
- Go to Object Settings.
- Verify that Data Source and Doc Config have all Record Types enabled.
- If not, click Edit and enable all.
- If not, click Edit and enable all.
- Click Manage Assignments.
- Select Add Assignments.
- Choose the users to assign this permission set to and click Save.
- Return to the PDF Butler home page.
- Mark steps 1 and 2 as completed.
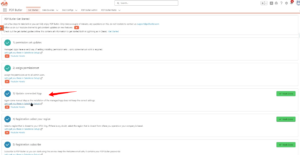
4. Updating the Connected App #
- In step 3 of the setup, click “Let’s get you there in Salesforce Setup!”.
- Locate the connected app you selected earlier (e.g., PDF Butler EU).
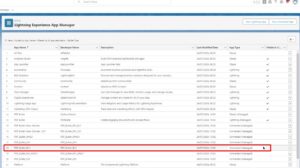
- Click Manage.
- Select Edit Policies.
- Set Permitted Users to:
Admin Approved Users Are Pre-Authorized
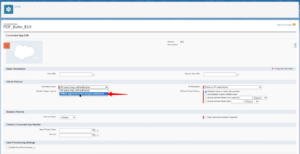
- Click OK, then Save.
- Return to the PDF Butler home page and mark step 3 as completed.
5. Registration #
- Navigate to the PDF Butler Admin tab.
- Select your Region.
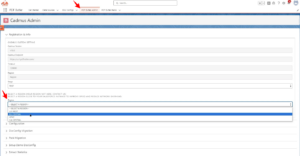
- Click Set Region.
- Enter your Postal Code.
- Click Request Credentials.
- Save the generated credentials securely.
- Return to the home page and mark steps 4 and 5 as completed.
6. Verifying the Configuration #
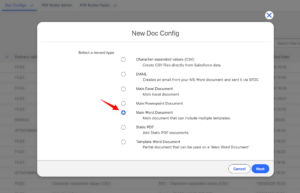
- Go to the Doc Config tab.
- Click New.
- Select Main Word Document, then click Next.
- Enter a name for the record and click Save.
- In the Custom Links section, click Open PDF Butler.
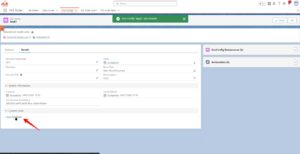
- If the PDF Butler interface opens successfully, the setup is complete and working as expected.